- In Stock: Usually ships the next business day
Genie
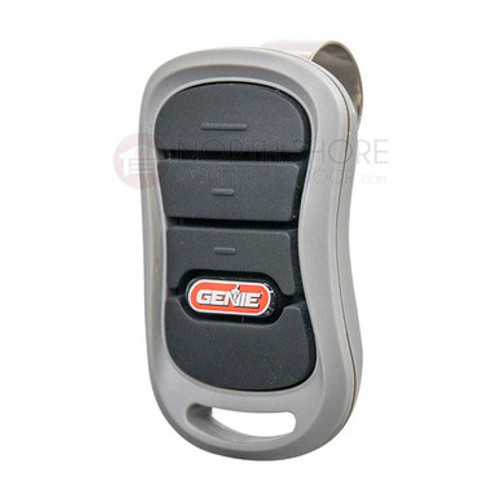
Genie Intellicode GIT-1 G2T-1 ONE Button Garage Door Opener Remote 33069R
This item is discontinued. Please view this replacement item:
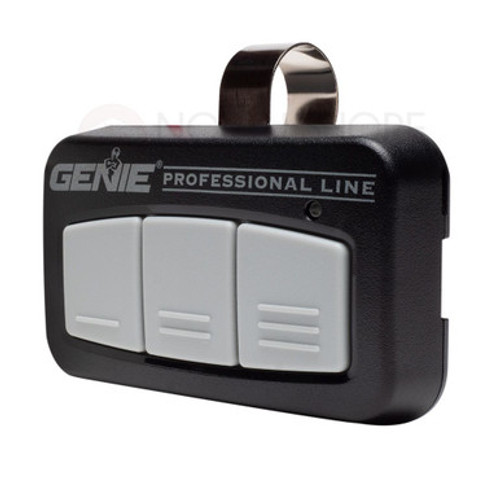
The Genie IntelliCode® GIT-1 One Button Remote 33069R from North Shore Commercial Door has been replaced by another Genie garage door opener remote, the Genie Model G1T-BX (38501R). It is a replacement Genie garage door remote for models using a 390MHz & 315MHz frequency from 1995 to the present. Check the site’s Q&A to get more information from customers and staff regarding the Genie IntelliCode® GIT-1 and the G1T. We will be shipping the G1T-BX remote as a direct replacement. The Genie G1T-BX will work with Genie Intellicode and Overhead Door CodeDodger Systems newer than 1995
Replacement For 390Mhz & 315MHz Models 1995 - Today
Compatible Replacement for These Model Remotes:
GIC90-3
GIT-1
GIT-2
GIT-3
OCDT-1
OCDT-2
OCDT-3
ACSCTG Type 3, ACSGT, ACSGT Type 3
ACSCTO Type 3, type 2 , type II , type 1
ACSGT type 1 , ACSGT type 2
Intellicode Type 1 Compatible
33069S
FCC ID: B8QACSCT, Series II Electronics
FCC ID: B8Q3153901T
12v battery, Visor clip and Instructions Included (New model G1T-BX uses battery #CR2032. Original model G2T used battery #A23)
How to Program the Genie Intellicode GIT-1 G2T-1 One Button Garage Door Opener Remote
For Openers Equipped with Learn Code Button (1995 to present)
For Openers Equipped with Program/Set Button (2010 to present):
- Remove battery's protective film from bottom of remote.
- Locate the Learn Code button and the indicator LED on the powerhead.
- Press & release the Learn Code Button (the LED will blink rapidly)
- Press & release the Remote Button (the LED will stop blinking)
- Press & release the Remote Button again (the LED will go out)
- Press the Remote Button one last time and release. The Door Opener will run and the remote has been programmed.
For Openers Equipped with Program/Set Button (2010 to present):
- Remove battery's protective film from bottom of remote.
- Locate the Program/Set Button and the indicator LED on the powerhead.
- Hold the Program/Set Button until the LED turns blue and then release. The LED will then blink purple.
- Press & release the Remote button. (LED will stop blinking)
- Press & release the Remote Button again. (LEDs will turn off after blinking blue)
- Press the Remote Button one last time and release. The Door Opener will run and the remote has been programmed.
- Remove battery cover.
- Slide the old battery downwards toward the bottom of the remote.
- Dispose of old battery correctly.
- Slide in the new battery and replace the cover.