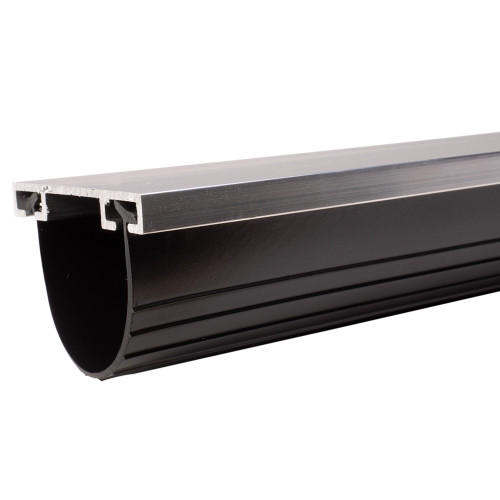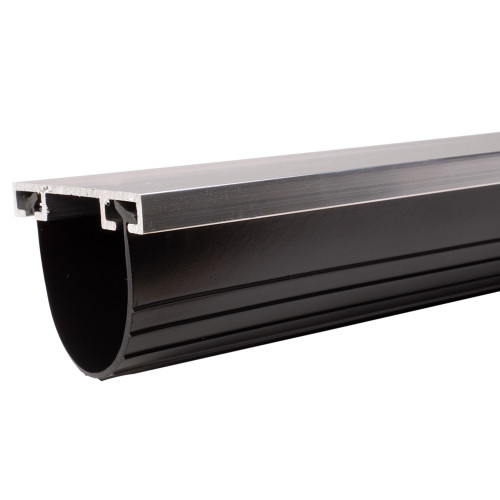
- Engineered for hot/cold extremes this vinyl T-End DIY Install Kit provides ideal barrier for humidity, and pest-control
- Usually Ships Following Business Day
Action Industries
Garage Door Bottom Weather Seal Replacement
- Engineered for hot/cold extremes this vinyl T-End DIY Install Kit provides ideal barrier for humidity, and pest-control
- Usually Ships Following Business Day
- atc-product:
- A13XT
- atc-product:
- A2064
- atc-product:
- WD-1-KIT
- atc-product:
- ULTRA-KIT
- atc-product:
- A1700-V9-A
- atc-product:
- A1700-V18-A
- atc-product:
- GIANT-WEATHERSEAL-KIT
- atc-product:
- EZ-ZIP
- availability:
- available
| Seal Width | 4" |
| Door Thickness | 1 3/8", 1 3/4", 2" |
| Track Type | T-End (1/4") |
| Material | Vinyl |
| Brand | Action Industries |
| Includes | Seal, Retainer, Mounting Screws |
| Application | Residential, Commercial |
| Seal Placement | Bottom |
| Color | Black |
These garage door seal bottom kits include the vinyl seal as well as the matching retainer and mounting screws. You can easily install this seal to any matching door size from any major garage door brand. Kits are available in two lengths (9' and 18') and three thickness options (for 1-3/8", 1-3/4" or 2" wide garage doors).
Kit Includes:
9' Kit (fits doors up to 9' wide - can be cut down to size)
- (1) 9' Roll of vinyl weather seal
- Plastic retainer (comes in two (2) 4'6" sections)
- Mounting screws
18' Kit (fits doors up to 18' wide - can be cut down to size)
- (1) 18' Roll of vinyl weather seal
- Plastic retainer (comes in four (4) 4'6" sections)
- Mounting screws
Choosing Your Kit:
- Select your garage door width. Choose the 9' kit for doors 9' and below or the 18' kit for doors between 9'-18' wide. If your door is not exactly the size of our kits, the kit can easily be cut down to the size you need. The retainer can be cut with a handsaw and the seal portion can be cut with household scissors.
- Select your garage door thickness. We offer three different thicknesses of retainers: 1-3/8", 1-3/4" and 2". See the diagram below for measurements.
How to Install:
Installation is easy. Remove the existing seal and retainer from your garage, install the new retainer and then pull the seal through. For tips and more information, check out our Weather Seal Installation Guide and YouTube Video with installation instructions.
Kit Part Numbers:
- P1364-00-A: 1-3/8” Retainer, 9’ Door Kit
- P1864-09-A: 1-3/4” Retainer, 9’ Door Kit
- P2064-09-A: 2” Retainer, 9’ Door Kit
- P1364-02-A: 1-3/8” Retainer, 18’ Door Kit
- P1864-18-A: 1-3/4” Retainer, 18’ Door Kit
- P2064-18-A: 2” Retainer, 18’ Door Kit


